
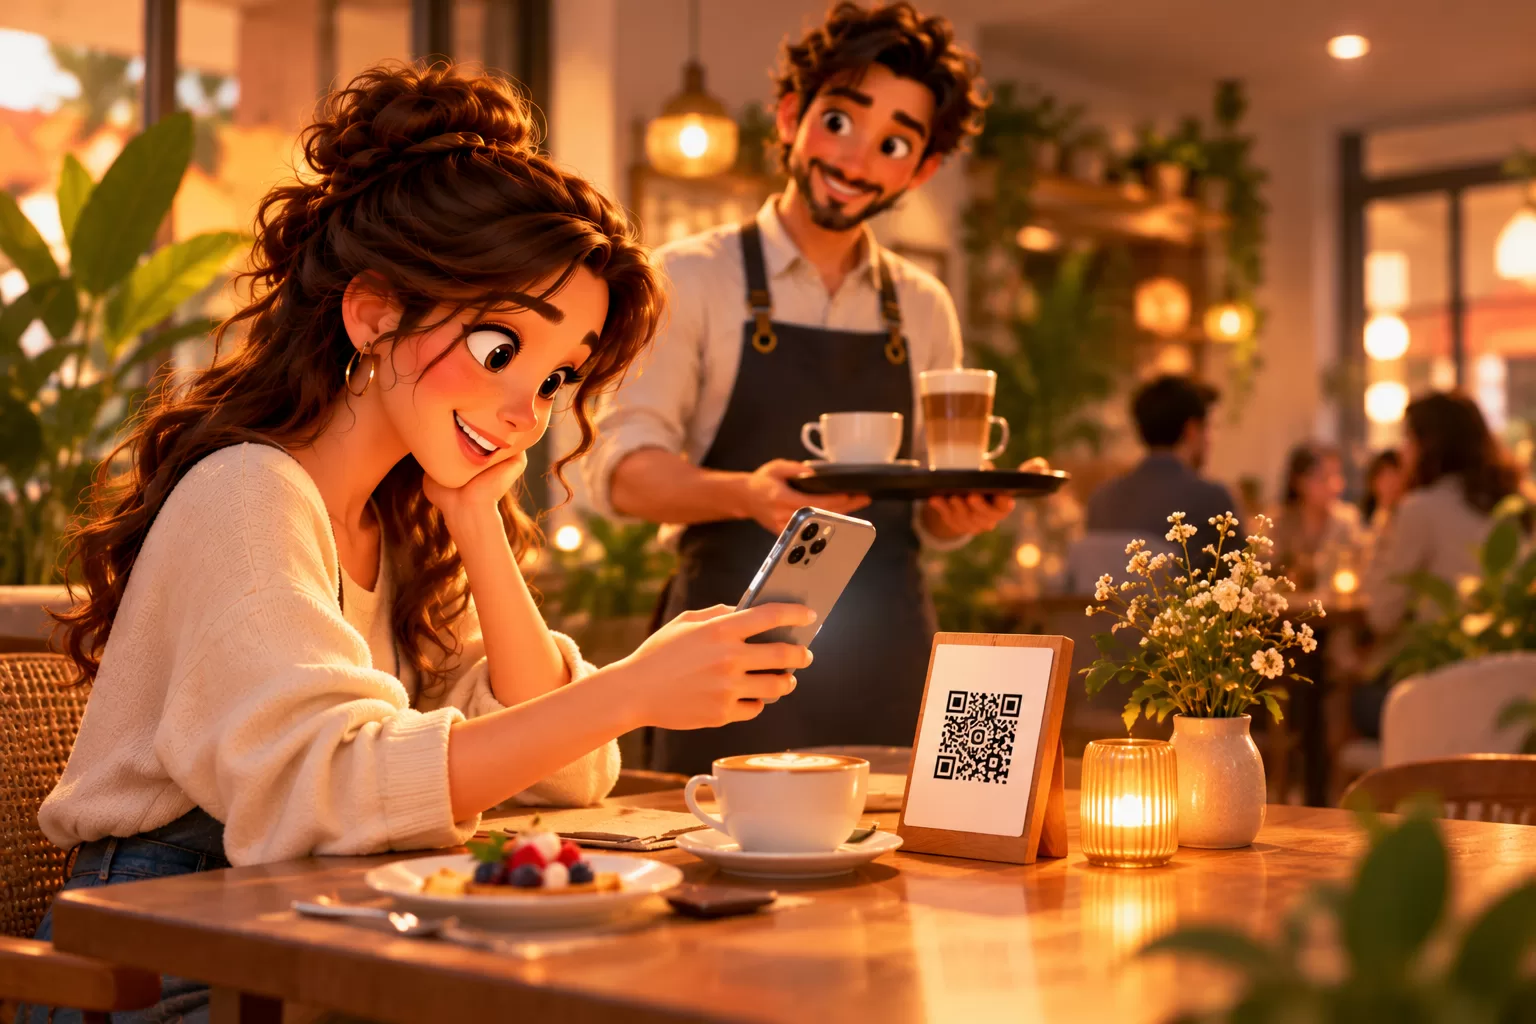
A QR code menu is a digital menu that opens in the browser when a guest scans the code on the table with their phone camera. No app download is needed: your menu, prices and product photos all live behind a single link. Set up properly, a QR menu does more than replace the paper menu — it also speeds up ordering.
A QR menu is also called an e-menu, online menu, restaurant digital menu or contactless menu. What people are looking for is usually the same thing: a menu guests can open on their own phone.
In this guide we walk you step by step through how to create a QR code menu for a café or restaurant from scratch, how to print table cards, and how to move from a menu to ordering at the table.
QR code menu vs. ordering at the table
The two are often confused. A QR menu only displays the menu; the guest still calls a server and places the order verbally. With a table ordering system, the guest adds items to a basket, sends the order, and it goes straight to the POS or the kitchen.
| Feature | QR menu only | QR menu + ordering at the table |
|---|---|---|
| Viewing the menu | Yes | Yes |
| Placing an order | Told to the server | Sent from the phone |
| Transfer to the POS | Entered manually by staff | Added to the table's bill automatically |
| Calling a server, asking for the bill | By raising a hand | With a single tap |
| Sales reporting | Not tracked separately | Tracked as a separate channel |
If you are short of staff at peak times, or guests wait too long to order, going straight to ordering at the table pays off more.
How to create a QR code menu in 6 steps
1. Simplify your menu
Don't copy your paper menu as it is. Arrange categories in the order guests look for them: hot drinks, cold drinks, desserts, food. Put your best sellers at the top of each category — the item that appears on the first screen of a phone is the one that sells most.
2. Prepare product photos
Items with photos sell more. Photos taken in daylight, on a plain background and from the same angle are enough. Don't remove an item just because it has no photo; a category image works too.
3. Set up options and extras
Enter options such as size (small, medium, large), milk choice, extra shot or syrup, together with their price difference. When guests choose these themselves, misheard orders disappear and the average order value grows.
4. Turn on multiple languages
If you serve tourists or international guests, offering your digital menu in several languages makes a real difference. When guests read the menu in their own language, they ask fewer questions and order more.
5. Generate a separate QR code for each table
Instead of one QR code for the whole venue, give each table its own code. That way every order tells you which table it came from, and staff never have to ask for the table number.
6. Print and place your table cards
Put the QR code on a table card with your logo. A short call to action is enough: "Scan for the menu and to order". Place the card in the middle of the table where guests can easily see it from their seats.
Checklist for table cards and QR codes
- Print the QR code at least 2.5 × 2.5 cm (about 1 × 1 inch); anything smaller is hard to scan on older phones.
- Leave white space around the code and don't print text or patterns over it.
- Choose a matte finish instead of glossy lamination; light reflections make scanning harder.
- Test the card with three different phones before printing the full batch.
- The QR code should not change when you update the menu: the code stays fixed, the content stays current.
Common digital menu mistakes
- Uploading the menu as a PDF: guests have to zoom in on their phones, and you have to re-upload it every time a price changes.
- Leaving sold-out items on the menu: guests choose them and then get disappointed. Sold-out items should disappear from the menu immediately.
- Keeping your POS menu and QR menu separate: updating prices in two places sooner or later means two different prices.
- Sending orders to a separate screen: staff run back and forth between two screens and orders get missed.
QR code menu with sipnik Table
In sipnik Table, the menu is the same as the one in sipnik POS; when a price or a sold-out item changes on the POS, the QR menu updates instantly. Guests order from the table, follow their order live, call a server and ask for the bill. Orders don't wait on a separate screen — they go straight to the table's bill. Table cards with your logo can be exported from the panel as ready-to-print PDFs.
Frequently asked questions
Is creating a QR code menu free?
Simple QR menu tools that only display the menu often have free versions. Features such as sending orders to the POS, calling a server and reporting usually come with a POS or ordering system.
Do guests need to download an app?
No. A QR menu opens in the phone's browser; scanning the code with the camera is enough.
Do I need a separate QR code for every table?
If you only want to display the menu, one QR code is enough. If you want to take orders at the table, each table needs its own QR code so you know which table each order came from.
Do I have to reprint the QR code when I change a price?
No. The QR code points to the address of your menu; when the menu content changes, the code stays the same.
How many languages can a digital menu have?
It depends on the system. sipnik Table displays the menu in Turkish, English, German and Russian.
Skip setting all this up piece by piece.
Wallet, loyalty, subscriptions and order-ahead come ready for your brand.
Sip Your Brand!